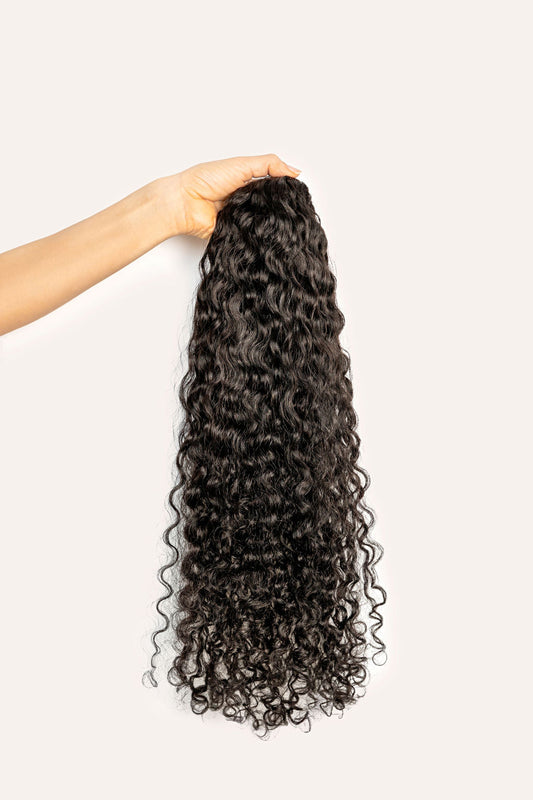
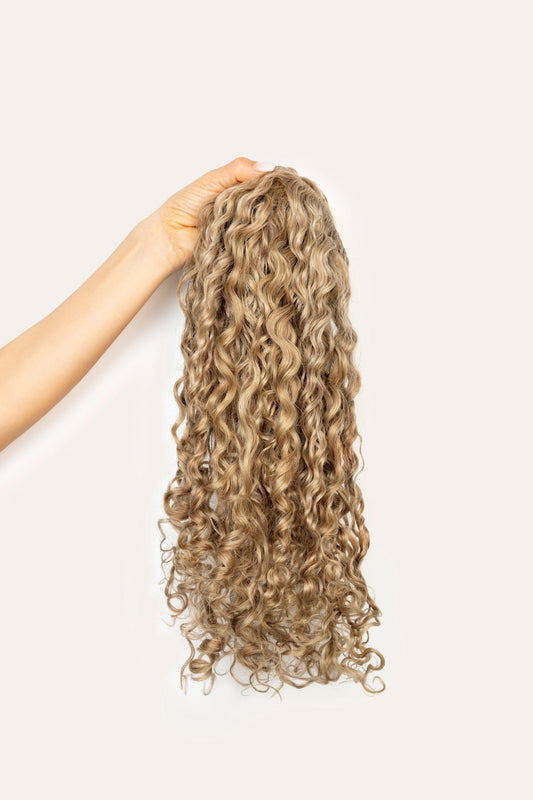
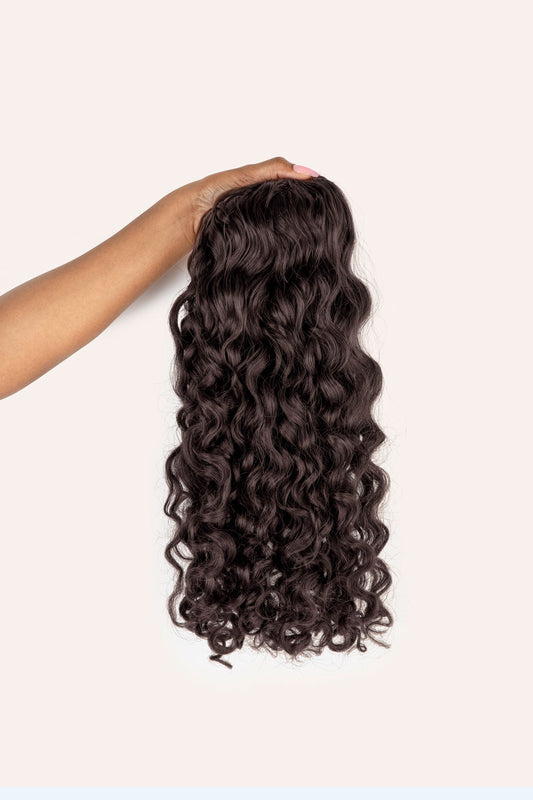
Curly hair can be a mystery—each time you style, you never really know what’s going to happen. That’s why us curly-haired humans are always experimenting—we’re constantly looking for new techniques to try. Plopping, wet plopping, diffusing with a strainer, drying upside down, is there anything curly girls won’t try at least once?
We have two not so out-there techniques you may want to try. These Bebonia curl hacks are perfect for taking care of your curly hair extensions and your natural hair. Both techniques allow your curls to stay fresh and springy (and when it comes to curly clip-in hair extensions, they definitely promote a longer lifespan).
Styling Tips for Curly Hair and Curly Hair Extensions
How to Scrunch Curly Hair

Hair scrunching is an amazing way to get your natural curls and your curly extension curls to look their absolute best. This technique, done straight out of or even at the end of a shower, adds volume and definition.
Here’s how to do it:
- On soaking wet, clean hair, use your fingers to rake gel through each individual section.
- Rake in gel from the top to the ends, try not to get it directly on your scalp, or you could weigh your curls down.
- After applying, flip your head over, and scrunch and squeeze upward.
- Repeat this through all of your hair. If you're using this method to style your curly clip-in hair extensions, repeat this through each curly hair extension weft.
How to Style Using the Finger Wrap Method

Another great Bebonia method is finger wrapping. It’s an easy way to get the beautiful, defined curls we all crave. Finger coiling can be done on each individual curl or in clumps; on both natural curls and on curly human hair extensions.
Here’s how to do it:
- First make sure your hair is soaking wet. If needed use a spray bottle with water and a bit of leave to re-wet your hair as you go to keep it at the right saturation point.
- Take a small section of hair and add gel applying from top to bottom.
- Then, wrap the hair tightly around your fingers, just not too tightly where you wouldn’t be able to slide it off.
- Smooth out the ends, then slide the newly created curl off your finger and allow it to fall naturally.
- When you’re using this technique with hair extensions that are curly and lip in, make sure you lay them flat to dry. With your own natural hair, feel free to air dry or diffuse after this step, depending on how voluminous or defined you want your hair to be.
Whether you use these styling methods for your natural curls or for your curly hair extensions, we want to know if you've tried—and loved—them! Let us know on Instagram using #BeboniaBabe!
If you're new to hair extensions for curly hair, you might wonder, "what is my curl type?" We've got you, babe! Contact us for a texture and color consultation, and we'll match you with the curly clip-in hair extensions of your dreams.


