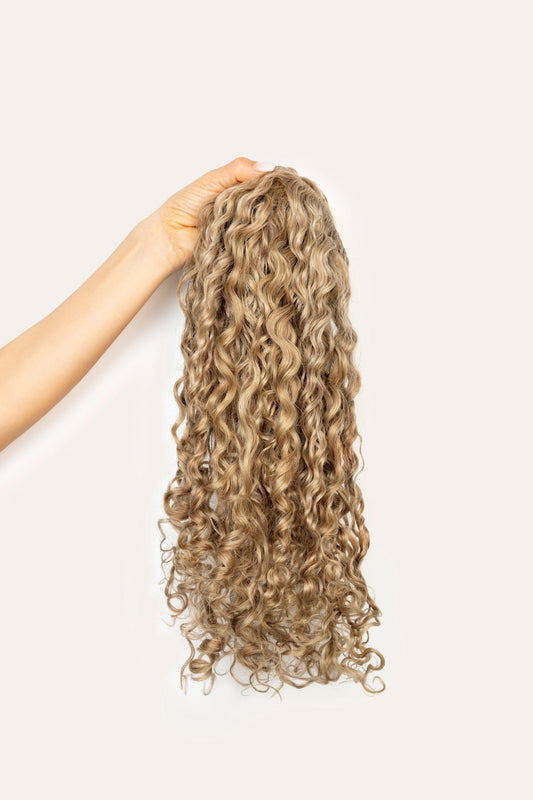
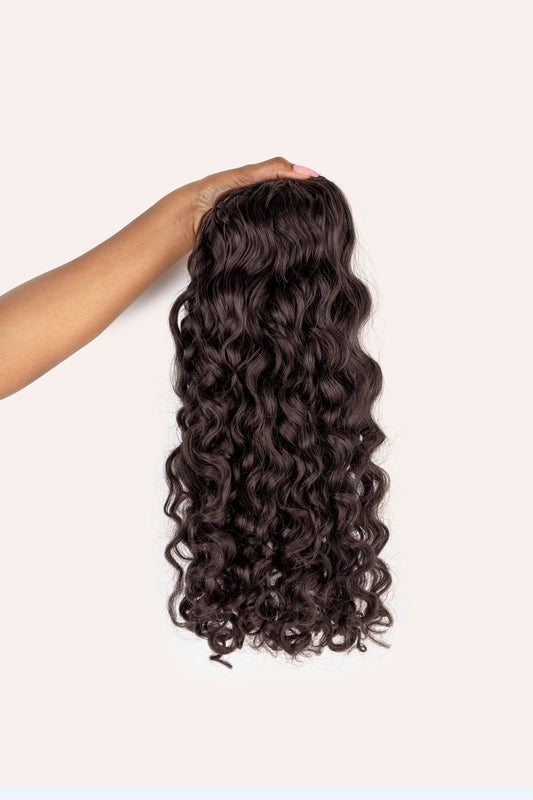
Are you looking to enhance your natural curls with minimal effort? Look no further than Bebonia Minis Curly Hair Extensions!
In this video, we’ll show you how to install your Bebonia Minis — our 3-weft clip-in set designed for effortless volume, subtle length, or to frame your face. Let’s get started!
How to install Bebonia Minis:
- Step 1: Start with dry, clean, and completely detangled hair. You can style your natural curls beforehand, or blend the extensions after — whichever you prefer!
- Step 2: Now section your hair where you want to place your first weft. A good starting point is just above the ear or wherever you need the most volume.
- Step 3: Gently tease the roots if you need extra grip. Then open the clips and press them securely against your scalp to snap them closed. That’s one weft down!
- Step 4: Continue placing the other two wefts where you want a boost — near your temples, the crown, or to frame your face. The beauty of Minis is their versatility.
- Step 5: Now fluff and blend! Use your fingers or a wide-tooth comb to gently combine your natural curls with the extensions for a seamless, natural look.
And that’s it! Quick, easy, and stunning.
Whether you’re adding volume, filling in layers, or just want that little something extra — Bebonia Minis have you covered.