You’ve ordered your Bebonia curly clip-in extensions for hair—thank you! We’re so excited for you to join the #BeboniaBabe community. But before you open your clip-in extensions, there are a few things you need to know:
First things first: Your new set contains a tester weft. The reason? To make sure the clip-in extension shade and texture you ordered is a good match for your hair. This weft is your chance to say yay or nay to a match.
If for any reason the weft isn’t a fit, we are more than happy to accommodate a return or exchange. But the main compartment of your Bebonia packaging must still be sealed. You cannot open or tamper with the packaging to be eligible for a return or exchange.
Does the test weft match? Awesome! Let’s get started.
Your natural hair extensions don’t arrive ready to wear—they need a little love first. (Especially since they may have flattened in transit.) To reactivate the clip-in extensions' curls and ensure they’re bouncy, we’ll give them a fresh wash and style.

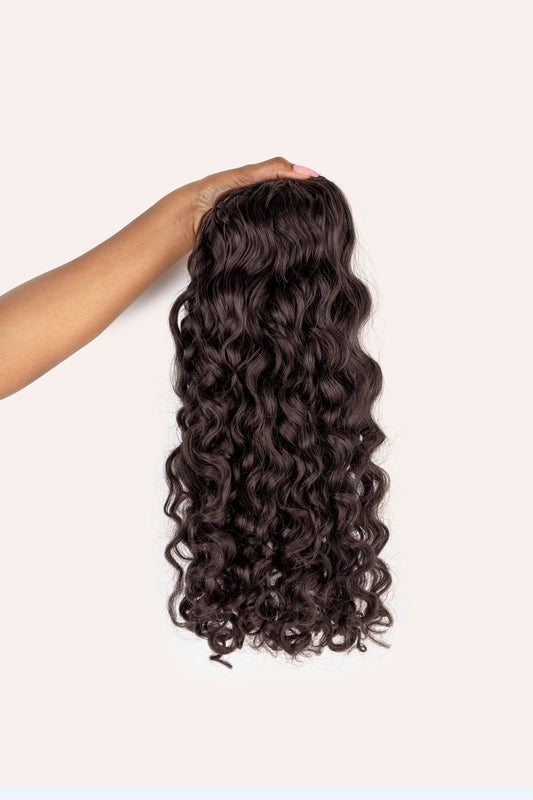
Step 1: Once you’ve confirmed that your texture and color match, remove your clip-on hair extensions from the packaging.

Step 2: It’s time to wash your curly clip-in hair extensions. Start by filling your sink with lukewarm water and a few pumps of your favorite shampoo. We recommend using products that are sulfate, alcohol, and paraben-free to prolong the life of the curly extensions. Place your clip-in extensions in the sink one at a time, and use light and gentle strokes from the weft down to the ends to cleanse the hair. This will also help avoid tangling. Then rinse any remaining cleanser with lukewarm water.

Step 3: Condition. You can use a conditioner or a hair mask. Apply conditioner from the top of the weft (aka just below the clip) down to the ends. If needed, you can detangle the curly hair extensions with a wide tooth comb, working from the bottom up with small, gentle strokes. If you’re able to leave the hair overnight to deep condition, do so (keep the extensions contained and out of the way by placing them in a shower cap).

Step 4: Rinse away most of the conditioner (leaving a little bit behind is fine) with cold water - which helps seal the cuticle.

Step 5: Apply a leave-in conditioner and water-soluble styler. Gently rake the product through the hair from clip to ends. Then gently scrunch the curly hair extensions from the bottom up to encourage the curls. For added curl definition, check out our wand method. Lay your set out on a flat surface, ideally on a microfiber towel. Let dry overnight. Don’t want to wait? Dry with a diffuser. Then you’re ready to rock your curly clip-in hair extensions!


1 comment